Before you start: open the current VOID studio in a modern browser. These instructions describe the development release and use locally generated demonstration audio in screenshots.
The three questions
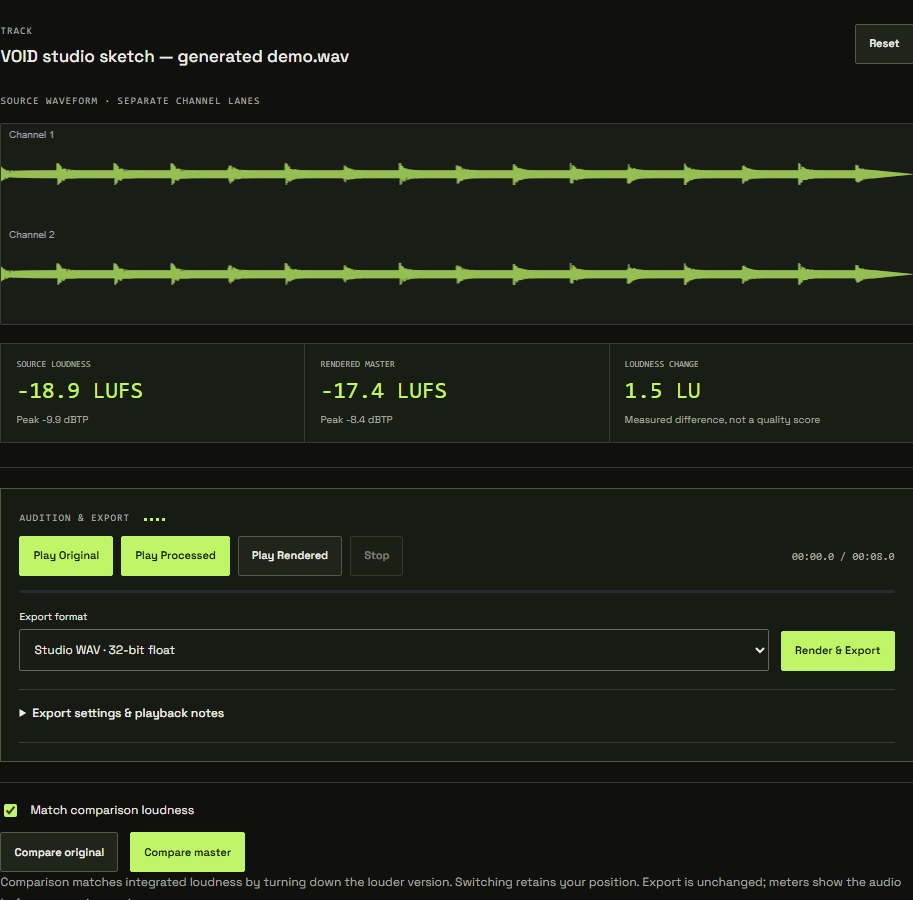
How loud does the track measure? How much has processing changed it? How close are its peaks to the chosen ceiling? VOID separates source measurements from checked rendered measurements so these questions do not get mixed together.
Integrated loudness summarizes the measured track in LUFS. A less negative reading is generally louder. It does not tell you whether the mix has good balance, emotional impact or distortion.
01 / Read the source
Import a WAV and inspect the source values. The waveform helps you locate events, while the loudness reading provides another view of overall level. Short, silent or unusual material can produce unavailable or unhelpful readings; do not mistake an absent measurement for a clean bill of health.
02 / Render the output
Render the processed track to populate checked output measurements. Live preview is an audition path; it is not the checked final render. If you change processing afterwards, the old output readings are no longer valid and VOID asks you to render again.
03 / Understand peak protection
Sample peak and true peak are different measurements. A sample-peak limiter does not by itself guarantee the same ceiling between samples. The optional measured output ceiling operates on the rendered signal and rechecks it. Lossy encoding can change peaks again, so evaluate your actual delivery file when a destination specifies a limit.
Choose delivery settings for your destination and material. VOID does not claim that a single LUFS target is right for every platform or every genre.