Before you start: open the current VOID studio in a modern browser. These instructions describe the development release and use locally generated demonstration audio in screenshots.
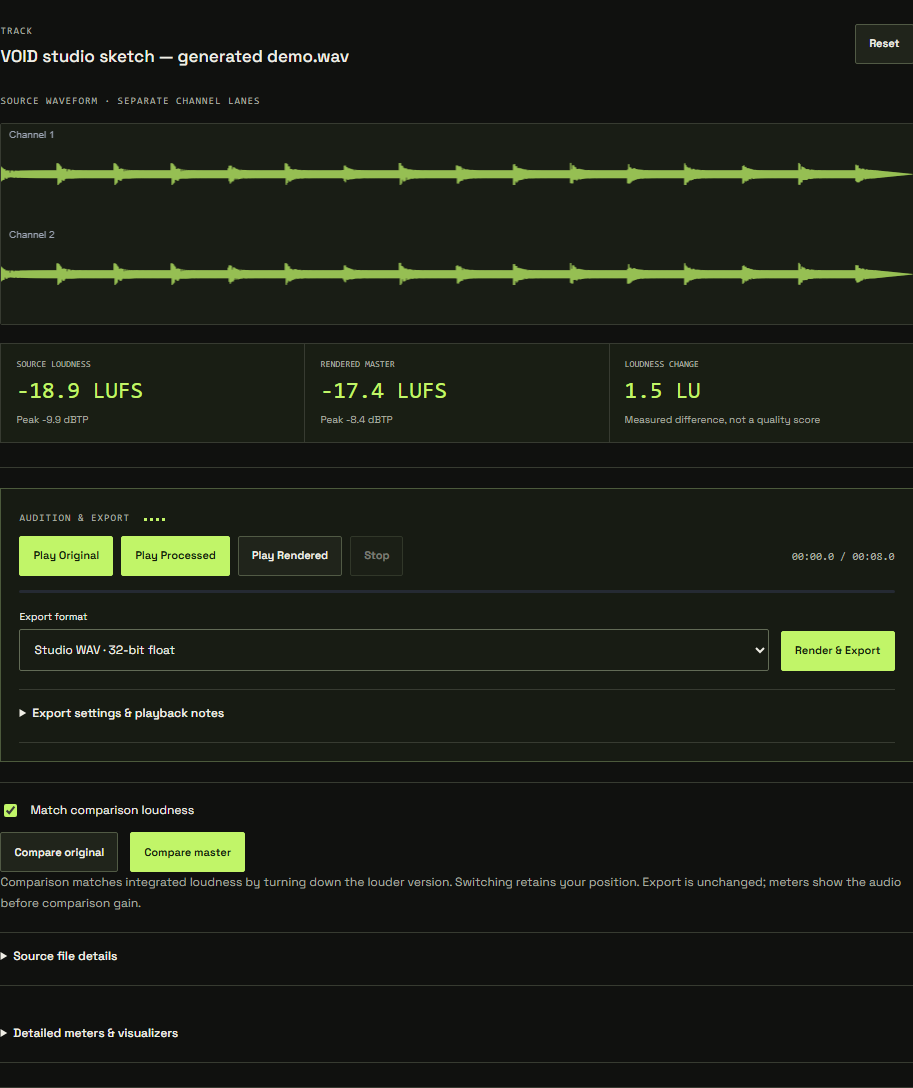
Why rendering matters
Live processing is useful while making decisions. Rendering processes the full track and produces the output buffer that can be measured and exported. Checked rendered playback is the place to hear the actual rendered result, including enabled whole-render peak protection.
01 / Finish your adjustments
Review the chain, ordering, bypass states, quality and ceiling options. Confirm the source file is the intended version. If you need a checkpoint, save your project settings or export a chain file before the render.
02 / Run and wait
Start rendering and watch progress. Longer files and higher quality settings need more time and memory. Cancellation remains available while work is in progress. Canceling a render is not the same as undoing your processing decisions.
03 / Review the result
When rendering completes, inspect the source/output readings and listen using rendered playback. Check the beginning, ending, loudest section and transitions. Compare at matched loudness where available.
A change to the chain invalidates the previous checked render. If you need another adjustment, make it and render again. If rendering fails, keep the source and settings, reduce memory pressure and retry with a shorter file if necessary.